Post Purchase
On any thank you page after a customer has completed an order, the Beam Post Purchase experience can be easily integrated. If a user has already selected a nonprofit in the cart for that order, the thank you page will show the Impact Overview widget. If a customer has not selected a nonprofit, the customer will see the option to select a nonprofit using the Select Nonprofit widget. Once the customer clicks “Submit”, the transaction will be updated in Beam’s system with the user’s nonprofit selection and the thank you page will then show the Impact Overview widget.
Widget script configuration
To add the Beam Post Purchase script to your BigCommerce Storefront:
-
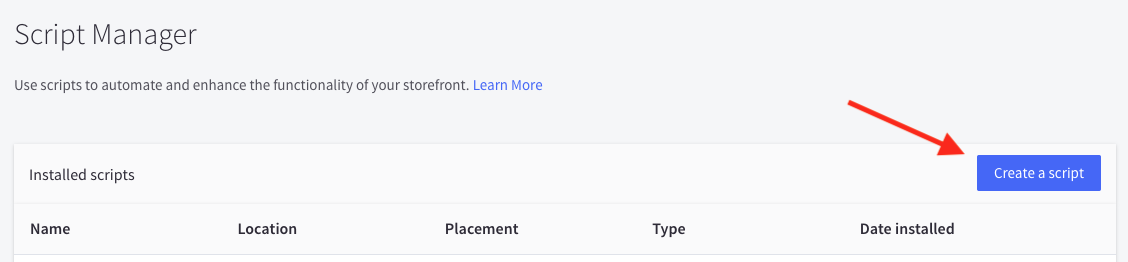
Open your BigCommerce Storefront administration panel, and go to Script Manager

-
Click the Create Script button to add a new script to your storefront
-
Use the following information to fill out the new script creation form
- Script name: Beam Post Purchase
- Description: Beam Post Purchase Script Tag
- Placement: Footer
- Location: Order Confirmation
- Script category: Essential
- Script type: Script
- Script contents:
In the following code example, replace
apiKey- Your Beam SDK API KeystoreId- Your Beam Store IdbaseUrl- This value can remain unchanged, unless you are specifically using Beam’s Staging environmentlang- Beam supports changing the displayed language based on alangparameter passed into the widgets. If your site supports multiple languages, this value should be updated based on any existing language detection method available in your site. The supported values for this property can be found in the Beam Supported Languages documentation.postPurchaseParentContainer- This is the Javascript query selector that determines which HTML element the Beam Post Purchase widget will be added to. For most BigCommerce sites, this value is.orderConfirmation-sectionpostPurchaseContainerStyle- This is a quick styling option for the Beam Post Purchase container which accepts a simple CSS string. The default value ofpadding: 0 40px 0 0;has been found to match most site’s styling well, though may be updated as necessary, or removed, based on your Thank You page needs.
<script
  type="module"
  async
  src="https://sdk.beamimpact.com/web-sdk/v1.30.1/dist/components/post-purchase.esm.js"
></script>
<script type="module">
  import { waitForElement } from "https://sdk.beamimpact.com/web-sdk/v1.30.1/dist/integrations/utils.esm.js";

  const apiKey = "{{ SDK API Key }}";
  const storeId = {{ Store Id }};
  const baseUrl = "https://api.beamimpact.com";
  const domain = "mystore.com";
  const lang = "en";
  const postPurchaseParentContainer = ".orderConfirmation-section";
  const postPurchaseContainerStyle = "padding: 0 40px 0 0;";

  async function addWidget() {
    fetch("/api/storefront/order/{{checkout.order.id}}", {
      credentials: "include",
    })
      .then(function (response) {
        return response.json();
      })
      .then(function (order) {
        const widgetContainer = document.createElement("div");
        widgetContainer.setAttribute("data-beam-widget", "post-purchase");
        widgetContainer.style = beamPostPurchaseContainerStyle;

        const widget = document.createElement("beam-post-purchase");
        widget.setAttribute("apiKey", apiKey);
        widget.setAttribute("storeId", storeId);
        widget.setAttribute("baseUrl", baseUrl);
        widget.setAttribute("domain", domain);
        widget.setAttribute("lang", lang);
        widget.setAttribute("orderId", `${order.orderId}`);
        widget.setAttribute("cartTotal", order.baseAmount);
        widget.setAttribute("email", order.billingAddress?.email);
        widget.setAttribute("postalCode", order.billingAddress?.postalCode);
        widget.setAttribute("countryCode", order.billingAddress?.countryCode);
        widget.setAttribute("currencyCode", order.currency?.code || "USD");

        await waitForElement(beamPostPurchaseParentContainer);
        const parent = document.querySelector(beamPostPurchaseParentContainer);
        widgetContainer.appendChild(widget);
        parent?.appendChild(widgetContainer);
      });
  }
  addWidget();
</script> -
Click the Save button to save your new script